31) Type in the root password, then “Authenticate”:
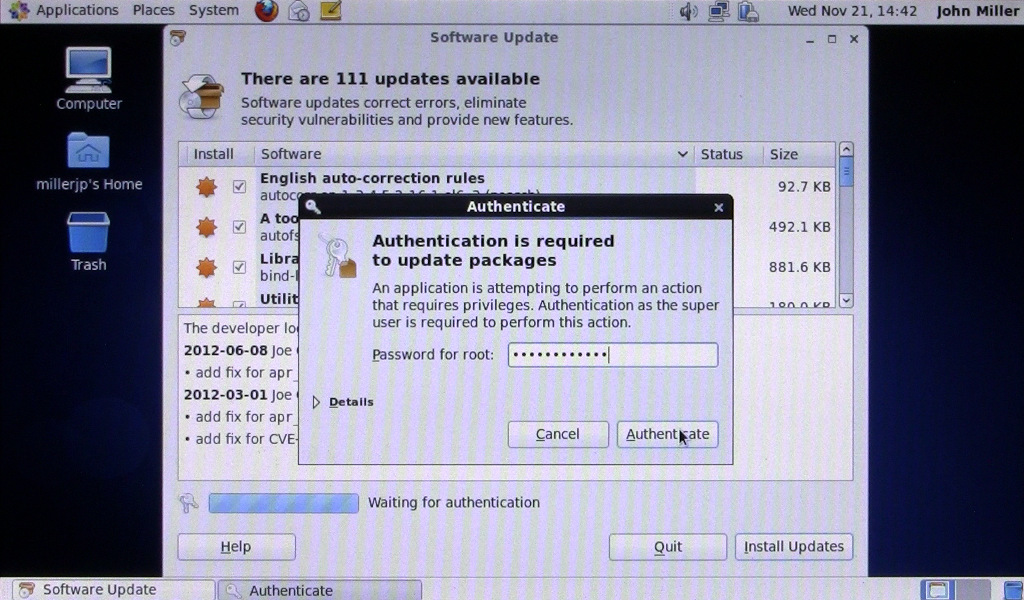
Click on the image above for a full-resolution screenshot
32) Click “Yes”:
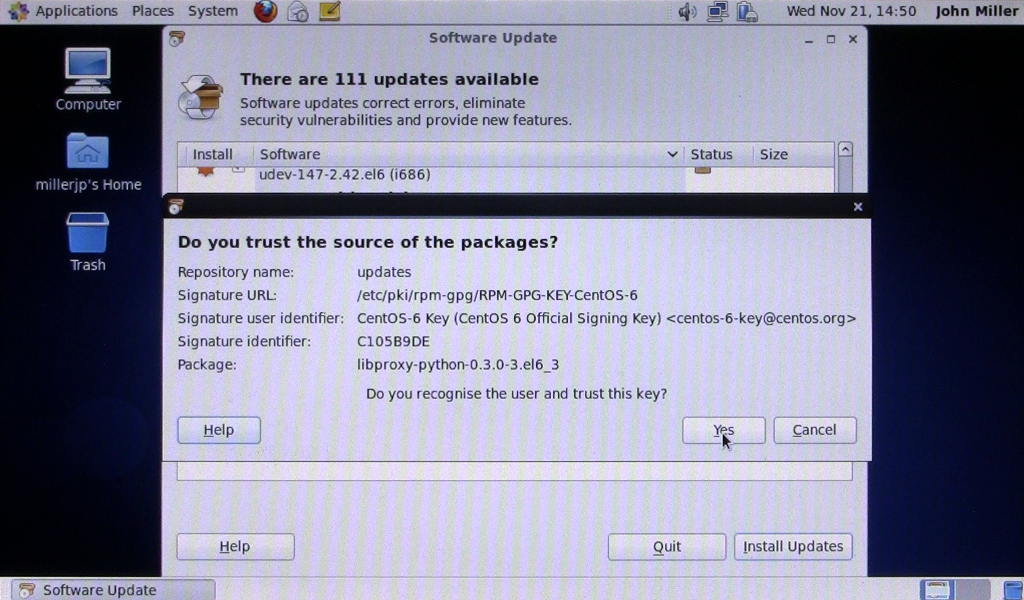
Click on the image above for a full-resolution screenshot
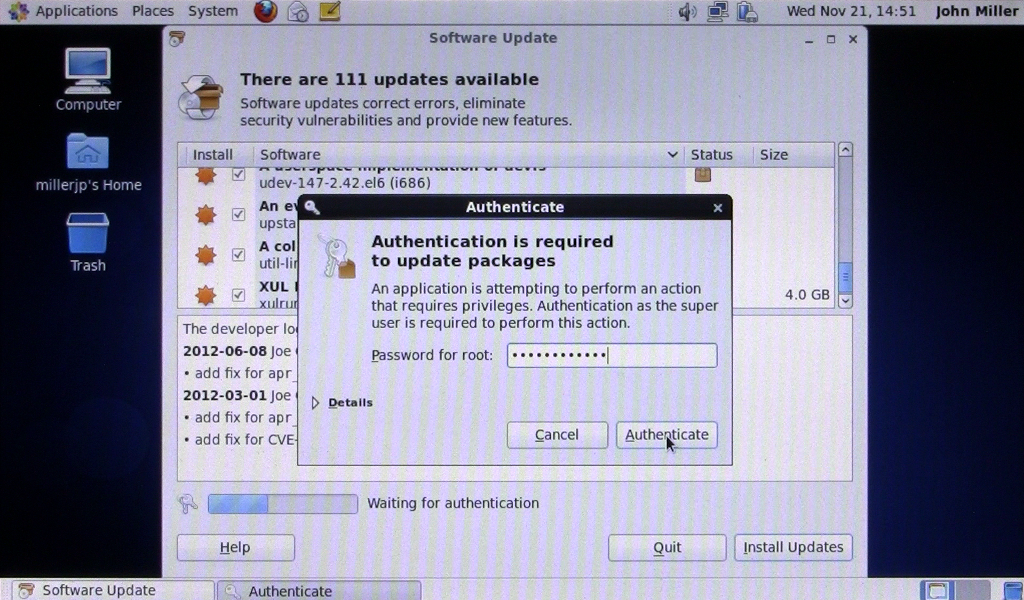
33) Type in the root password, then “Authenticate”:

Click on the image above for a full-resolution screenshot
34) Wait for the updates to install:
Click on the image above for a full-resolution screenshot
This takes a long time. Be patient.
35) Click “Restart Computer”:
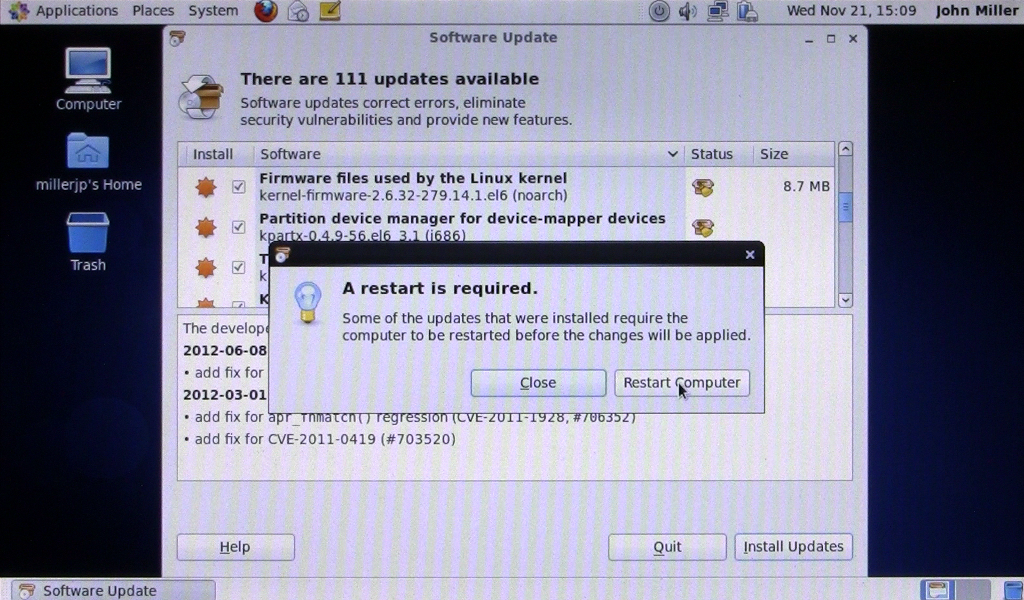
Click on the image above for a full-resolution screenshot
Pingback: Comment installer CentOS 6.3 sur un Asus Eee PC 900HD | John Miller